
This text is from the friendly website "How to Geek".
One of the neatest new features in Windows 7 Professional and above is XP Mode, but not all machines are capable of running it. Today we show you how to use VMware to run XP Mode on machines without Hardware Virtualization.
Download Securable to Test if your Machine Can Run XP Mode.
Even if your computer doesn’t have hardware virtualization, you can still install XP Mode but just cannot run it as you can’t run Virtual PC. Enter VMware Player. This free program lets you create and run virtual machines, whether or not you have hardware virtualization. And, it can directly import XP Mode so you can use that copy of XP for free. A couple features are different, but it’s still a great replacement since you otherwise couldn’t use it at all.
Note: XP Mode does not work on Home Versions of Windows 7 and you’ll need VMware Player 3.0
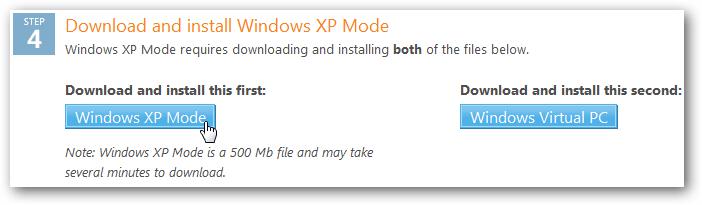
First, download and install XP Mode (link below). There is no need to download Virtual PC if your computer cannot run it, so just download the XP Mode from the link on the left.
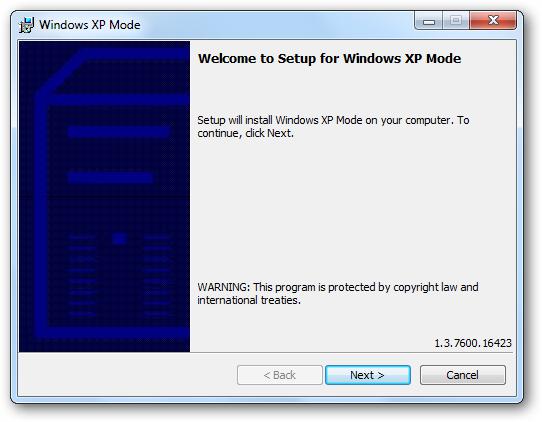
Install XP mode; just follow the default prompts as usual.
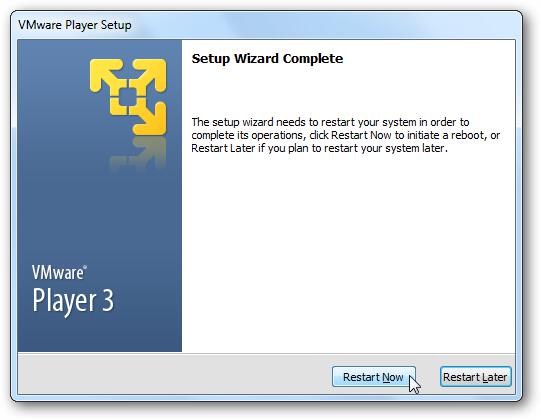
Now, download and install VMware player. The download is free, but requires registration.

You may see some prompts about installing drivers; simply approve them. We didn’t see them on our latest test, but have in the past. When you are finished installing VMware Player, you will have to restart your computer.
Now that your computer is rebooted, run VMware Player. We can import XP Mode by clicking File, then click "Import Windows XP Mode VM."

VMware Player will simply start importing your XP Mode. Converting XP mode to VMware format may take a couple minutes depending on your hardware, so just be patient.
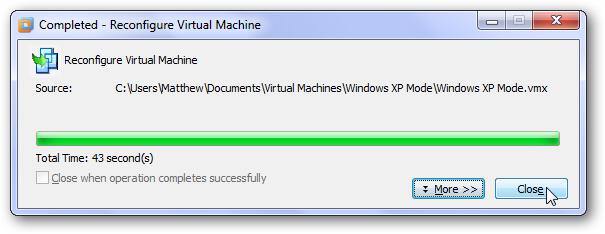
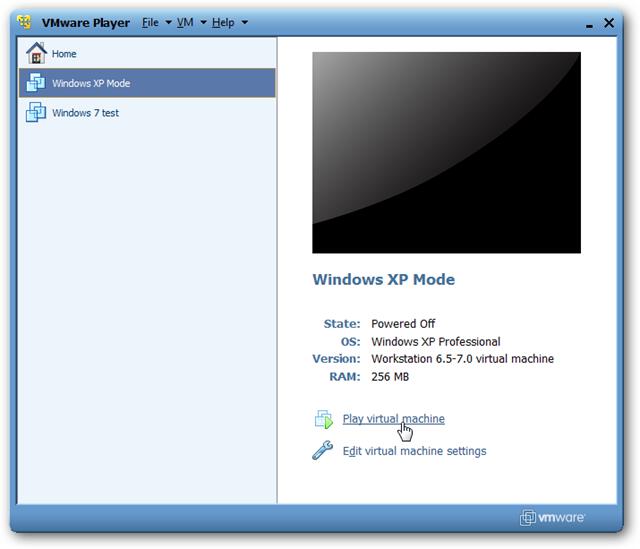
When this is done, you should see a new virtual machine in VMware Player called XP Mode! Click "Play Virtual Machine" to run XP Mode.
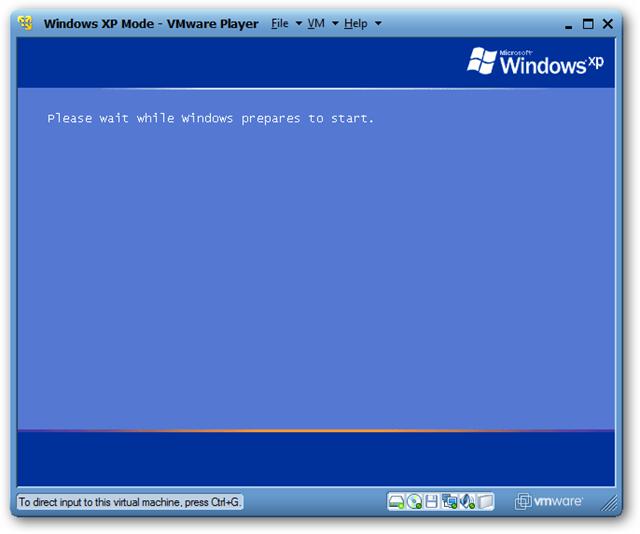
XP will run through it’s first-run setup process.
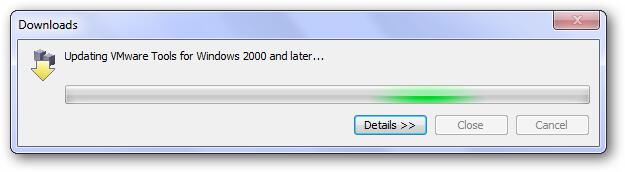
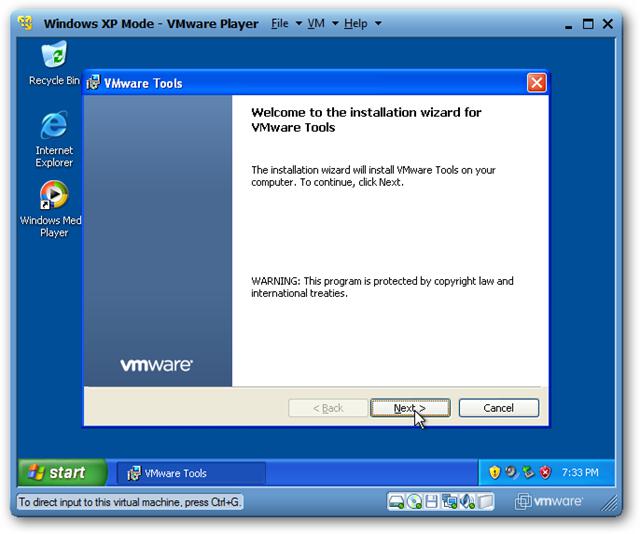
While it is loading, you may be prompted to install or update VMware Tools. This is required to integrate XP Mode into your computer, so click Update Tools or Install Tools depending on you situation.

The tools will automatically download and install, though you may have to approve an UAC prompt.
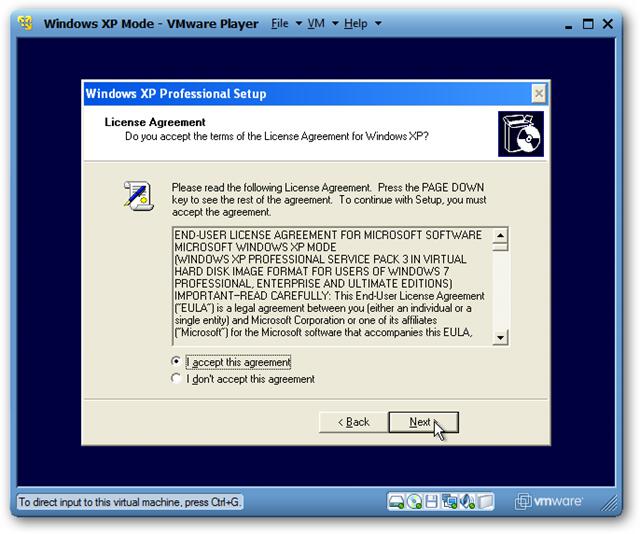
Now you can proceed with your XP setup. Accept the license agreement,
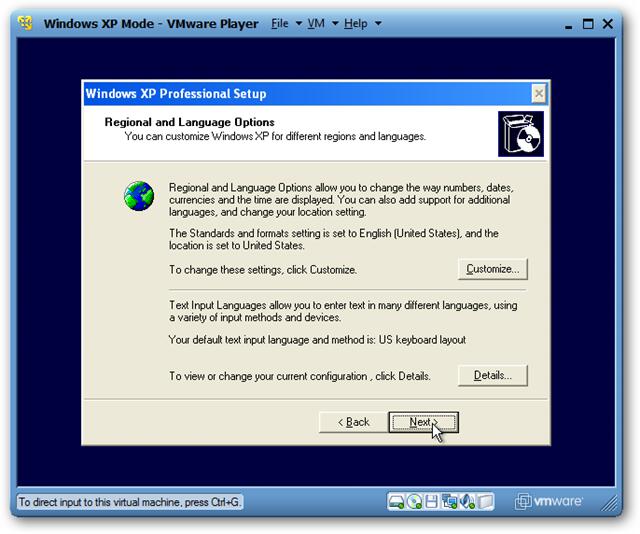
Choose your locale and keyboard settings
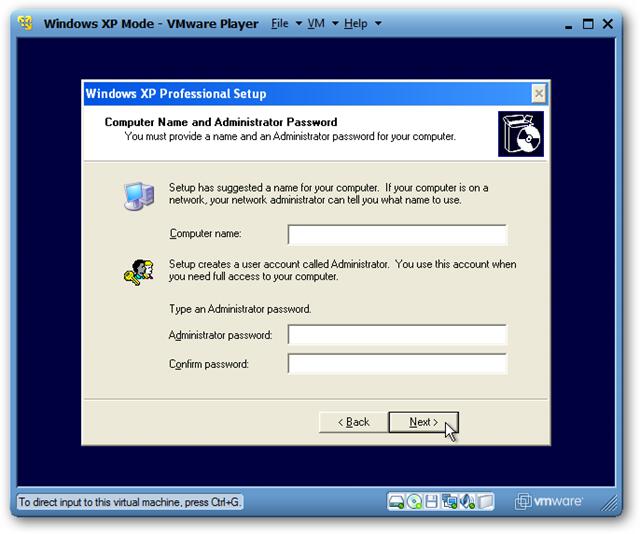
Enter a name for the virtual machine and an administrative password
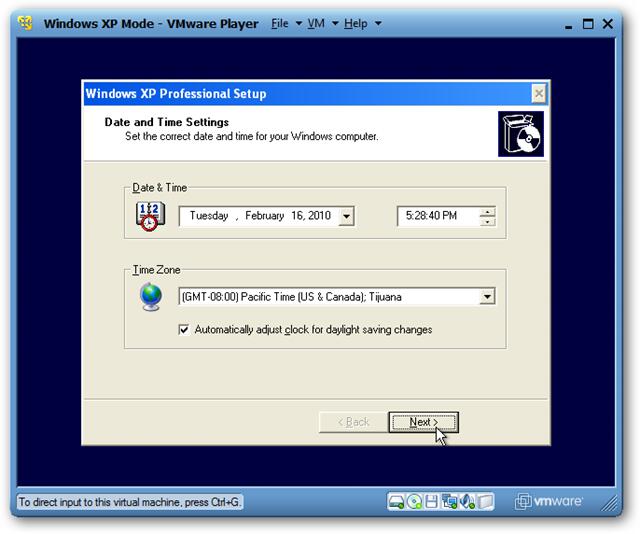
And enter the correct date, time, and timezone. It usually gets the correct time and date from your computer itself, but the time zone is often incorrect.
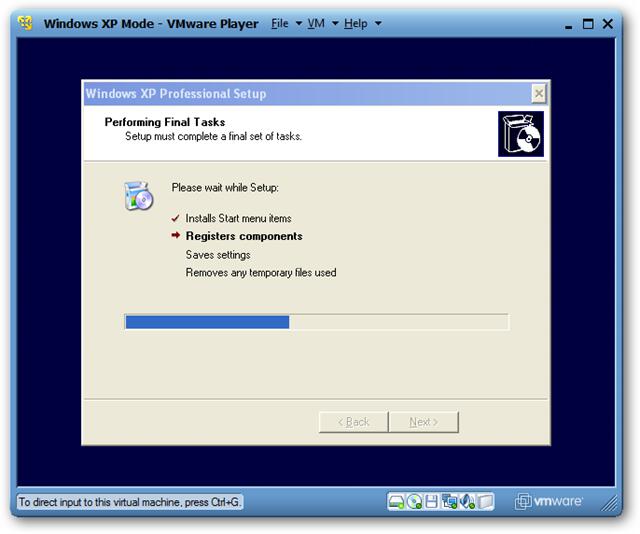
XP will now finalize your changes, and then reboot.
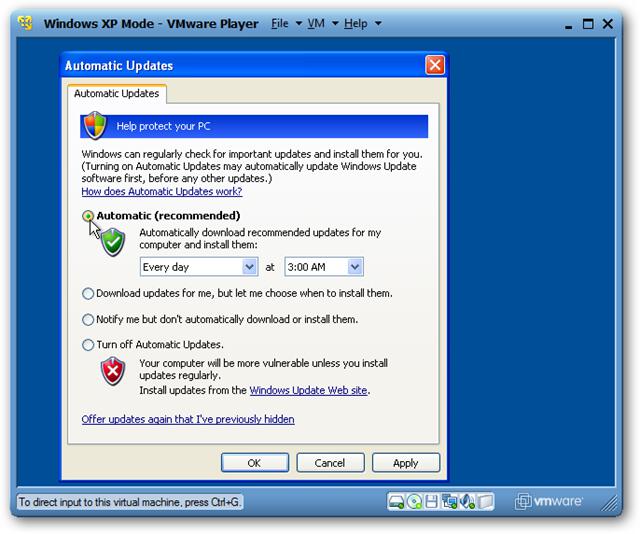
When XP Mode restarts, choose your settings for updates.
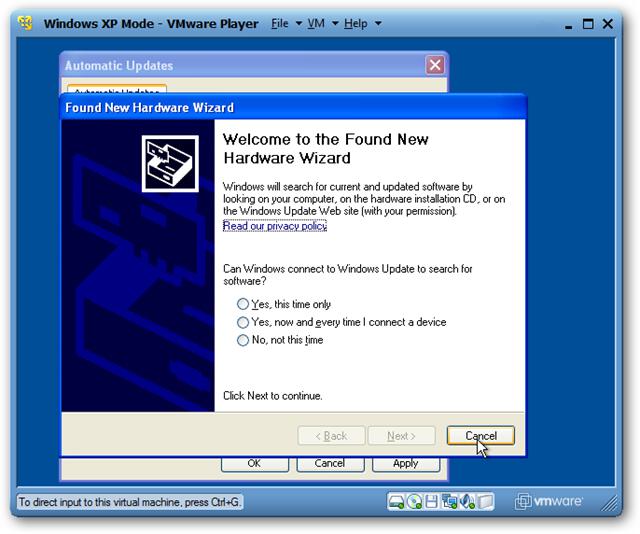
Windows may ask to search for drivers. Simply press cancel, as VMware Tools will contain everything we need.
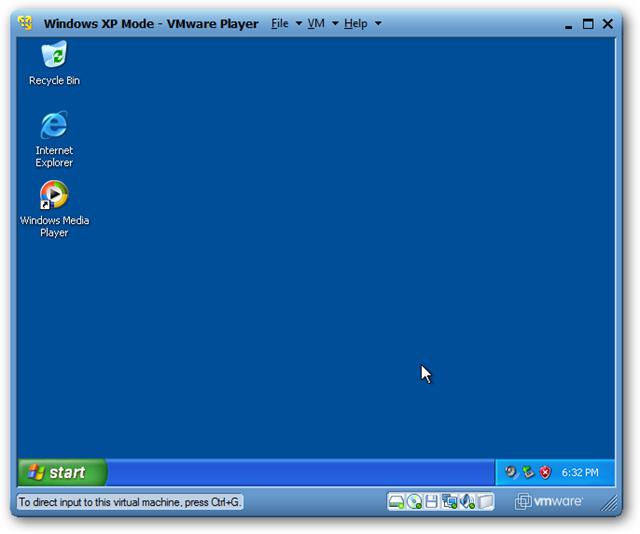
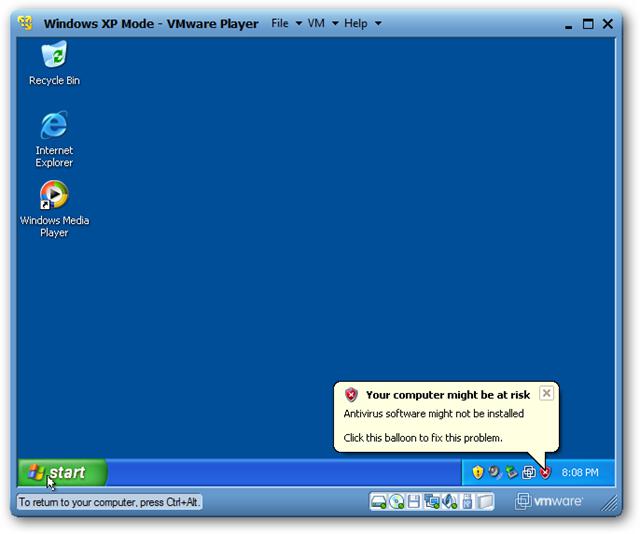
After a short delay, you should see your XP desktop in VMware Player!
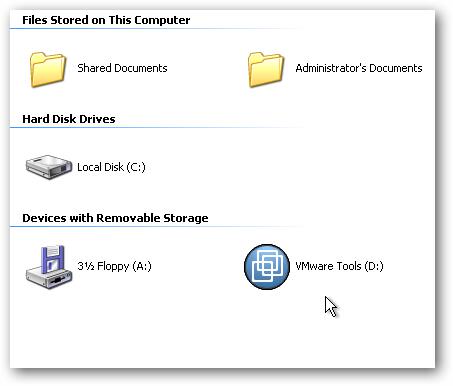
There’s one last thing that needs to be installed – VMware Tools. This should automatically open in XP Mode; if not, click Start, then My Computer, and finally double-click on the CD drive which should say VMware Tools.
Now, simply run the Tools installer with the Typical setup type, and reboot the XP Mode when it’s finished.
Now VMWare is setup and we’re ready to start integrating it with Windows 7.
The real advantage of the default XP Mode in Windows 7 is that the XP programs are fully integrated with their Windows 7 counterparts. You can run them seamlessly with other programs, copy between them, and even open and save files to the same folders.
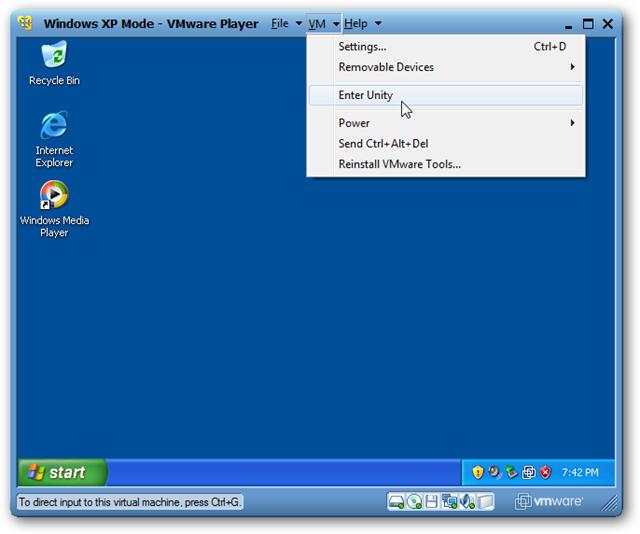
Let’s set this up in VMware. Copy and paste from Windows 7 to XP Mode in VMware is activated by default. To use your XP programs seamlessly with Windows 7, click VM on the top of the VMware window, and click "Enter Unity."
You can easily access any program or file in XP mode through a dedicated XP Mode Start Menu. When you hover over your Windows 7 Start button, a new button called "Windows XP Mode" will above it. Click there to access a full start menu from XP Mode right in Windows 7.
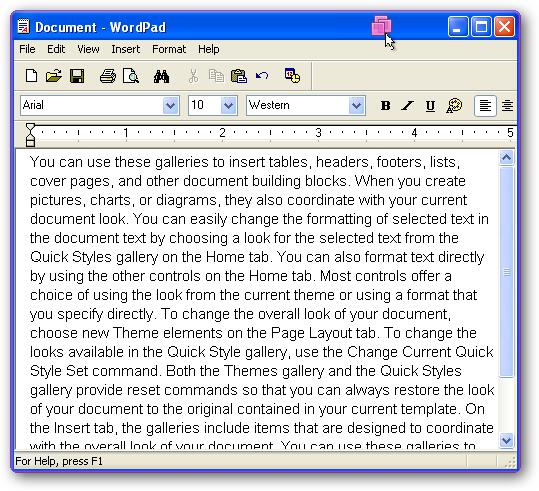
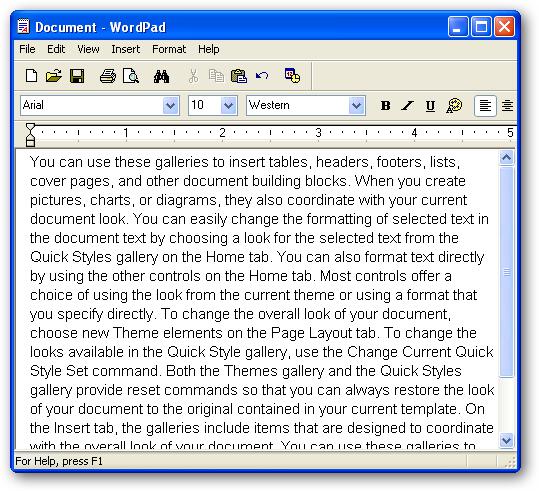
Here is an IE 6 window from XP running side-by-side with IE 8 in Windows 7, thanks to VMware Player!
By default, the virtualized windows will have a border and the VMware logo on their edge.
To remove this logo, click VM in the VMware player window, then settings. Click on the Options tab, and choose Unity on the left. Now uncheck the boxes that say "Show borders" and "Show badges."
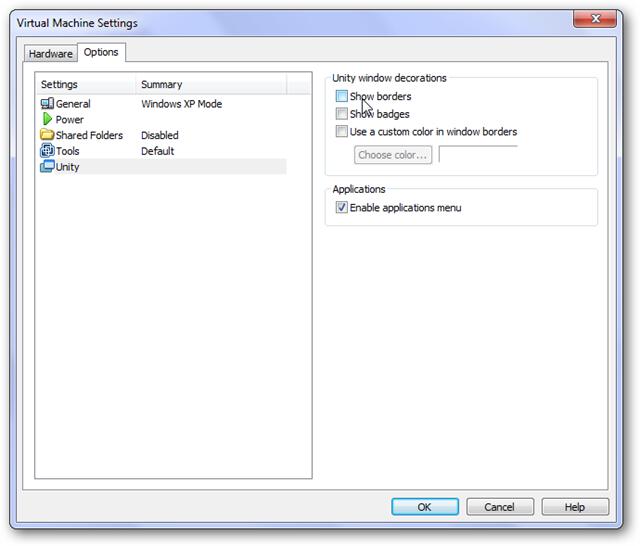
Without having the VMWare borders and badges give everything a more authentic XP Mode look and feel.
You can even use removable devices, such as flash drives, in XP Mode in VMware Player. Whenever you connect a new device to your computer, VMware will remind you that you can add it to XP Mode.
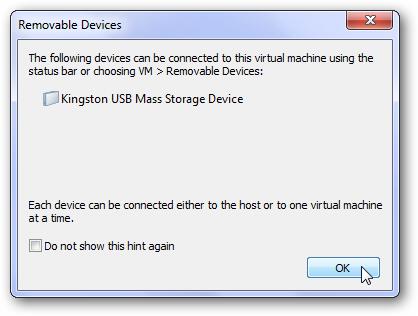
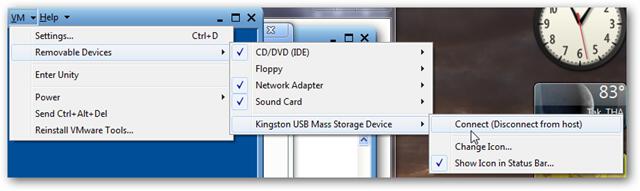
Simply click VM, then Removable Devices. Select your device name, and click Connect.

You may want to share the entire "C" drive of the Windows 7 with the virtual XP computer.
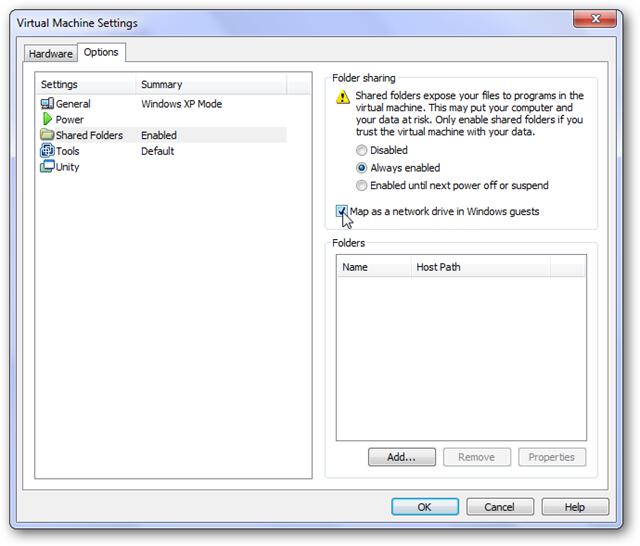
By default, files created in XP Mode in VMware Player will be saved inside the virtual machine. It’s more convenient if they’re saved directly to the My Documents folder in Windows 7, so let’s change this. Click VM, then Settings. Click the Options tab, and then choose Shared Folders on the left. Now click the bullet for "Always enabled" and check the box for "Map as a network drive in Windows guests."
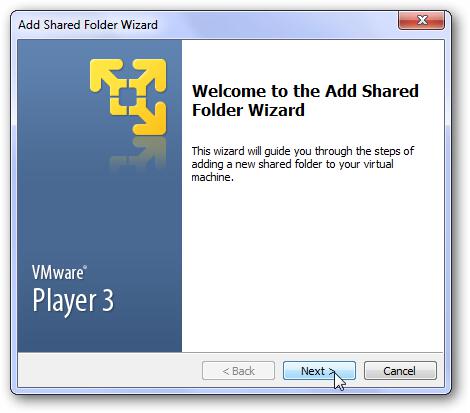
Now click Add at the bottom of that window. This will let us add a shared folder.
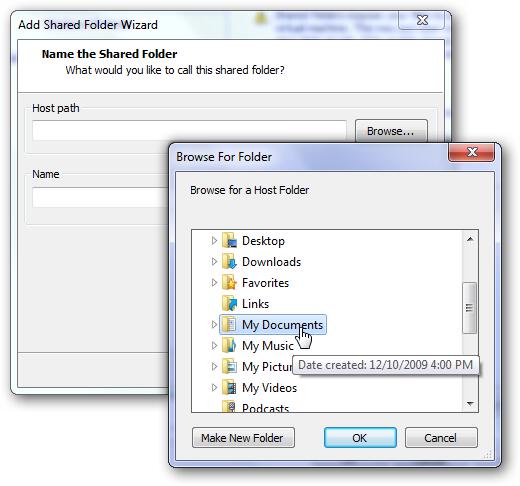
Let’s add the My Documents folder from Windows 7. Click Browse, and then select your My Documents folder. Click Ok, and then click Next.
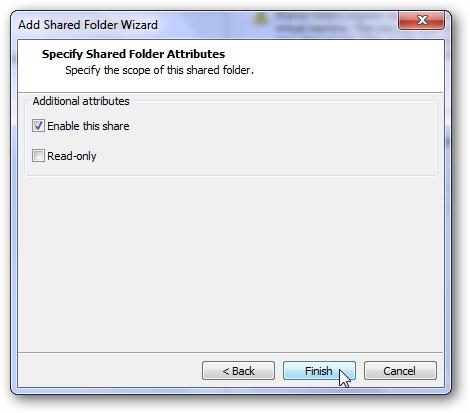
Make sure the box is checked that says "Enable this share" and then click Finish. You can now close the settings window as well.
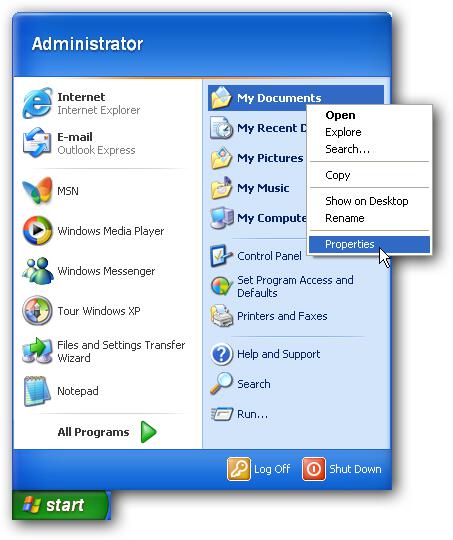
Back in XP Mode, click Start, then right click on My Documents, and select Properties.
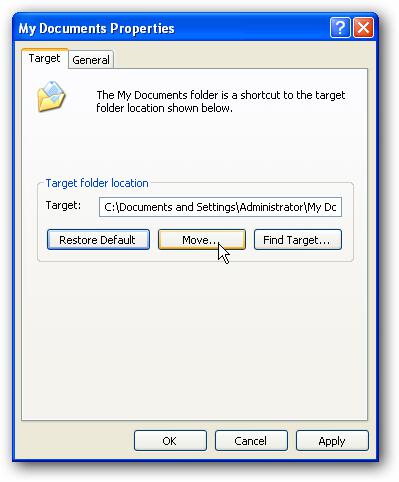
Click Move to find the new My Documents folder.
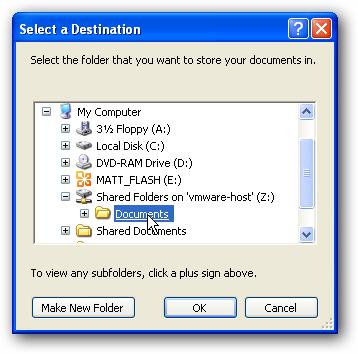
Find the folder we just shared from Windows 7 by clicking My Computer, then the drive that says "Shared Folders on ‘vmware-host’" or something similar. Now select the folder we shared, Documents, and click Ok.
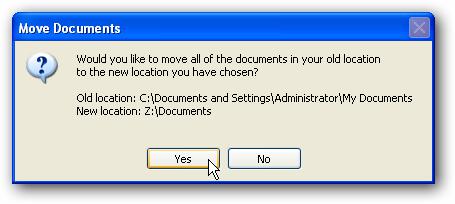
Click Ok in the main properties window. It may offer to copy the files from your old My Documents folder to the new one; choose Yes to make sure you have all of your documents in Windows 7.
Now, whenever you go to save a file in XP Mode, it will automatically save in your My Documents folder on Windows 7. You can repeat the same process for any folder you wish, such as your My Pictures and My Music folders.
That’s all … now you have your full XP Mode running on your computer without hardware virtualization. Almost all the same features are there; the only thing you’re missing is the Start Menu integration, but VMware’s menu is the next best thing. In our tests using VMware worked as good or better as actual XP Mode on a machine that supports hardware virtualization. If you’re frustrated that the Windows 7 machine(s) you have don’t support XP Mode, using our VMware method works, and allows you to use it on whatever machine you want.
Virtual Windows XP will allows you to run applications within the Virtual PC window. Install MegaDots in the Windows XP window. Answer no to the question about full screen. Close the Windows XP window before launching MegaDots.
If you are using Windows XP, change the font name and size on the print side. To do that, launch MegaDots and press Alt-spacebar. Then press P and select the font tab. Choose MegaDots window braille as your font.
The idea in enlarging the font is to make the window as big as possible without losing any part of the MegaDots screen. Be aware that the window can never take up the whole screen. For most laptops, we recommend 24 point for a sighted user, 20 point for a user of JAWS or Window-Eyes. If you are asked, save these parameters for future use of this program.
Be aware that the MegaDots window braille font is designed to work with screen font smoothing turned on. If the font appears to have box-like braille dots without any shadow dots, you have screen font smoothing turned off. On your desktop, right click, choose, Properties, Appearance, click on Effects and make sure the screen font smoothing choice is checked.
To make the display work as well as possible in MegaDots, go to the MegaDots Preferences Menu, Editor. Set Text size to N (Normal), as leaving it at C (Compact) causes problems. In the same form, also make sure that Big cursor is set to No. Do not forget to save your Preferences.
In the installation example, the host Windows 7 C drive looks to the XP machine like the Z drive. Open the Z drive from within MegaDots to read files from the host machine.
On the Windows 7 Desktop, from the Start Menu, you can locate All Programs, Windows Virtual PC, Windows XP Mode Applications, Duxbury, MegaDots 2.5 without Speech. Right Click on this, and then select Send to and then Desktop (create shortcut). This way you can launch MegaDots directly from the Windows 7 Desktop. Using the y drive (see above), you can read and write from the full Windows 7 hard drive. While there are some limitations, this is getting close to a full use of MegaDots on a 64 bit system.
Some users find that using MegaDots in a window is distracting if there is too much going on outside the MegaDots window. Here is an excellent red background for use with MegaDots in a window right click on the image and select "Set as Background".
In order to import Word files, you do not need to have a copy of Microsoft Word installed in the XP emulation. In order to export to Word files, you do need to install a copy of Microsoft Word in the XP emulation. Why? Because the DBT engine within MegaDots has all the software it needs to read Word files. But when MegaDots exports to Word, it is really exporting to html, and then using your existing copy of Word with Word automation to turn that into a genuine Word file. One approach is to export to html from the XP emulation, and save the html files in the Windows 7 computer. From the Windows 7 computer, you can import the html files and Save As Word files. This is time consuming, but avoids needing to obtain another copy of Word.
In order to do the work you want to do in the XP emulation, you many need to install other software programs, such as Adobe Reader or any other that helps you get your work done. Or you may need to install several printers for use within the emulation. Remember that from the XP emulation, you can read any part of the Windows 7 computer, but the Windows 7 computer cannot read anything in the XP emulation.